Affiliate Disclaimer: This website uses affiliate links. That means that if you make a purchase using one of the links I may receive a small commission, at no additional cost to you. Commissions are what keep The Dadicurean up and running.
If you own a pellet grill, then you may already know about this hack and you are constantly bragging to your friends about it. If you don’t own a pellet grill, but love steak, then this hack may just be the thing that convinces you to pull the trigger on the purchase.
Now by this point everyone knows that a pellet grill’s strongest asset is its ability to do a low-and-slow smoke without the need for babysitting like a ceramic grill or an offset smoker. Most higher-end models, such as the Camp Chef Woodwind Pro, or the Traeger Ironwood have what are known as PID (Proportional, Integral, Derivative) controllers. PID controllers allow these grills to maintain greater accuracy in temperature settings and avoid the wild temperature swings pellet grills were known for in the past. These controllers also allow you to take your steak game to a whole other level!
Smoke a steak, are you kidding me?
Traditionally, steak has been grilled over very high heat (around 450°F or higher), about 3-4 minutes on each side, locking in those delicious juices at preserving that beloved medium-rare finish. Now if you like steaks medium, that’s fine too. There are some people who like their steaks in the medium-well to well-done range and those people are typically found driving 15 miles under the speed limit in the left lane of the local turnpike.
And while this “flash” style grilling is great for restaurants who have to crank out steak-after-steak-after-steak, or people with traditional gas or charcoal units, being a pellet grill owner gives you the ability that these other folks don’t have. You can actually smoke a steak to perfection.
But what about that ever-important sear?
Getting a good sear on the outside of your steak is vitally important, not only for taste and texture reasons, but also for overall food safety. Unlike ground beef, the inner muscle tissues on a steak are left undisturbed, so it’s typically safe to eat when it’s undercooked, but if there is bacteria buildup, it’s going to be on the outside. Searing is good way to ensure any harmful germs are killed off before you dig in. That’s why it is not a good idea to eat undercooked ground beef, as there may likely be harmful bacteria, such as Salmonella, E. coli, or Yersinia from the outer muscular tissues intertwined with the inner ones during the grinding process.
However, unlike the aforementioned method that focuses on cooking the steak and searing the outside simultaneously, this method involves waiting until the very end of the cooking process to sear the steak. This is called reverse-searing. This is crucial if you want to get that smoke-infused taste, because if you sear at the start, you won’t get any smoke flavoring out of the process.
Accomplishing this culinary masterpiece.
Selecting your steak
I don’t want to get too much into the reeds about what steak is best. However, if you are new to cooking steaks these are the most popular for grilling:
– Ribeye
– Chuck Eye
– Flat Iron
– T-Bone
– Porterhouse
– New York Strip
– Filet Mignon
– Sirloin
You just want to make sure whatever cut you choose that it’s at least 1 – 1 1/2 inches thick. Thin steaks are not good for grilling because they cook fast it’s hard to dial in your preferred level of doneness.
When it comes to Prime vs Choice, it really comes down to how much you are comfortable spending. I have seen plenty of Choice-graded steaks with excellent fat marbling, so there is nothing wrong with going that route. Select-graded steaks, in my opinion, just don’t have enough fat to keep them from drying out, so stay away from those. One term you will see quite often, especially on Choice steaks is “Certified Angus.” That means that the meat originated from a particular breed of cattle known as the Aberdeen Angus. These cuts offer the best bang for your buck when it comes to buying Choice because they tend to be meatier and have a higher amount of fat marbling. Remember, marbled fat is your friend if you want a tender, juicier, and more flavorful cut of meat.

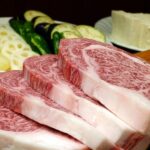
One particular steak grade that is very popular right now thanks to the Internet is A-5 Wagyu, which is a Japanese cut of beef. I’m not going to get into the process for making it, but let’s just say the marbling on one of these is unlike anything you have ever seen on an American steak. A USDA Prime steak is on average between 8 – 12% of marbled fat, while one of these will average somewhere between 45 – 60% marbled fat. There are plenty of American imitators out there, but only beef that comes from Japan can have the A-5 grade attached to it. If you happen to come across a genuine A-5 Wagyu steak from Japan, be prepared to spend a pretty penny for it. Sometimes you can find a genuine A-5 Strip in the frozen section at your local wholesale club, but you will still be paying nearly $100 for it!
Also, if you are making a steak for someone who follows the Kosher diet, you’ll want to stay away from any cut of meat that comes from back half of the cow (Any cut that comes from behind the 12th rib), so that means that sirloin is definitely out, and unless you know a good Jewish butcher, the Filet is out as well.
Dry-aged steaks are also in style right now, so if you’ve never had one, just know that the flavor of one is more intense than a regular non-aged steak. For some that’s great, but for casual steak-eaters that can be off-putting. Just know that if you get one you will need to cut off the dried out “bark” from the steak’s surface before you start getting it ready to grill.
Choosing the right pellets for your grill.
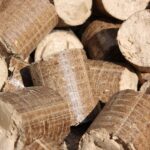
 The type of flavor wood you choose is totally up to you. However, if I were to rank which ones work best for this method of cooking steak it would be:
1. Mesquite
2. Oak
3. Cherry
4. Hickory
Mesquite is a strong and aromatic wood that is perfect for the short cooking period needed for steaks. To me, it brings the essence of what a steak made in the Desert Southwest would taste like. Oak and Cherry are good at number 2 and 3 because they both present a very mild, but classic smoke flavor, which also makes them ideal for longer smokes. Hickory is okay for steak, but it’s not the best. It’s fine if you’re in a pinch and can’t find anything else, but I think it’s better for cuts of pork.
Setting up the grill.

I like to set my grill at 220°F. However, you can go up to 250° to save some time and still get awesome smoke flavor. If you have a grill that has an enhanced smoke setting, you can tune that in to your desired level of extra smoke you want. If you have an older pellet grill and don’t know what I’m talking about, a lot of newer pellet grills have a setting that temporarily pauses the auger bit that feeds pellets into the firebox. This allows the pellets already burning to smolder longer without getting covered up with new pellets, producing a more powerful smoke. The higher setting you use, the longer the auger stays paused, and the more smoke comes out. However, the downside is that the greater your smoke setting is the more prone your grill is to +/- temperature swings, which is why I like keep my cooking temperature low.
If you don’t have this setting, filling up a smoker tube with mesquite pellets and putting in your grill’s chamber will have a similar effect.
Seasoning your steak.
Whether you’re a fancy rub person or a basic salt-and-pepper person, you’ll want to start off with a good binder for your seasoning before you add it on. For that, extra-virgin olive oil or avocado oil are solid choices. They’ll do the trick without dramatically altering the flavor you’re going for. I don’t like using plain vegetable oil, as it can leave a weird taste. If you go the olive oil route, you’ll don’t need to worry about its low-smoke point. Since you’ll be smoking your steak between 220° – 250° you’ll be well under the point where it could start to burn. And when it’s time to sear – you’ll be using such a high heat level that it won’t matter what oil you use. If you want a good steak seasoning that doesn’t go overboard with salt or pepper, I recommend the Original Cowboy Coffee Steak Seasoning from Cattleman’s Grill. Once seasoned, let the steak rest for about 20 to 30 minutes before putting on the grill.
Cooking Step 1: The Smoke
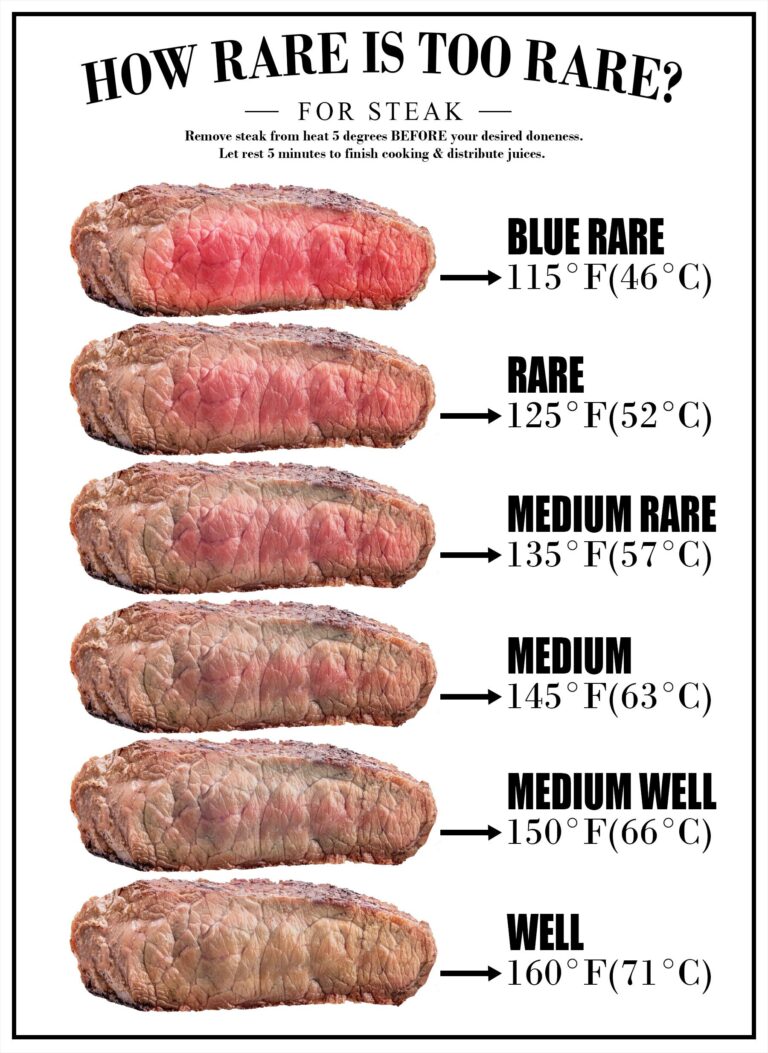
Place your steak in the chamber of your pellet grill. For best results, place it on the upper rack (if-equipped) to keep it from cooking too quickly. If not, just make sure the steak isn’t sitting directly on top of your heat source. Insert a thermometer probe laterally into the steak, avoiding contact with bone and making sure the end of the probe isn’t sticking out. You will want to pull the steak about 10 -15 degrees below your desired doneness level, because the sear will do the rest. Depending on the size of the steak, this process normally takes 30-45 minutes. Review the chart below to see where you will want to be when completely finished.

Cooking Step 2: The Reverse Sear
When it comes to reverse-searing, there are two principle ways to go about doing it – Using a flat surface, such as a cast-iron skillet or on a high-heat grill. Whichever you prefer, you want to make sure that the surface the meat will be searing on is well north of 600°F and you are doing it outside. Unless, you know, you want every smoke alarm in your house going off.
Flat-Surface Searing
Using a flat surface is a fantastic way to sear your steak because you get a consistent sear and char from top to bottom. The only downside of a flat surface sear is you don’t get the pretty grill marks.
Grill Searing
Grill searing is an effective method as well. However, to get more a complete surface sear you need to rotate the steak 1/4 to the right or left mid-way through searing each side. Doing it this way also ensures that you get those pretty diamond grill marks.
This is where most pellet grills, despite their specifications, struggle the most. Most barely reach 500°F and even if yours has the slide-grill feature that removes the deflector from over the fire box, it’s really more gimmicky than anything and results will be mixed.
No matter which method you decide to use, you will more than likely need a high-powered propane or natural gas-fueled burner at your disposal.
I happen to have an old Camp Chef Sear Box attached to my Woodwind. It works really well, but is a one-trick-pony compared to its successor – the Sidekick. I replaced the cast-iron factory grates with aluminum Grill Grates. These are fantastic, rust-resistant, and you can flip them over to make a flat searing surface, which I did for the Sear Box! You can get them customized to your specific grill if you want to give them a go. Just click the links above.
A good tool to have when searing is an infrared thermometer. It’s a safe, touch-free way checking to seen when your searing surface is hot enough. Click the link above or the image below to shop for one!
Adding fat or tallow to your steak before searing.
Using spray-on duck fat or beef tallow on your steak right before you sear it is a great option to guarantee a great and flavorful crust. You can find normally find these items in your local grocery store or barbecue supply store. If not, of course you know Amazon carries them!
Sear. Rest. Eat. Commence food coma.
Once you are are all set up and ready to go. Sear each side of the steak for approximately 60 seconds. If you’re using additional fat added on or you have a fatty cut of steak, such as a ribeye, you will definitely need to use elongated barbecue tongs and protective gloves as there will be a flare up during this process and you don’t want to get burned. Remember if you are searing on grates, you will want to give the steak a quarter-turn to the left or right at about the 30-second mark before turning it over to do the other side.
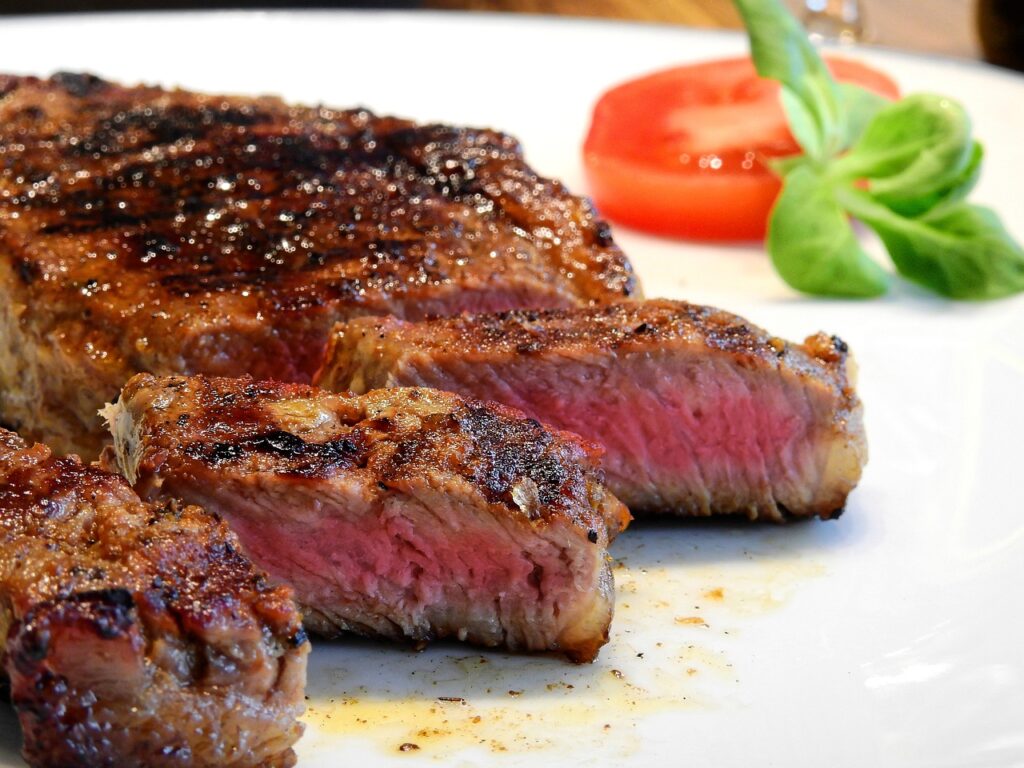
Once the sear is complete, let your steak rest for five minutes, and then enjoy.


